
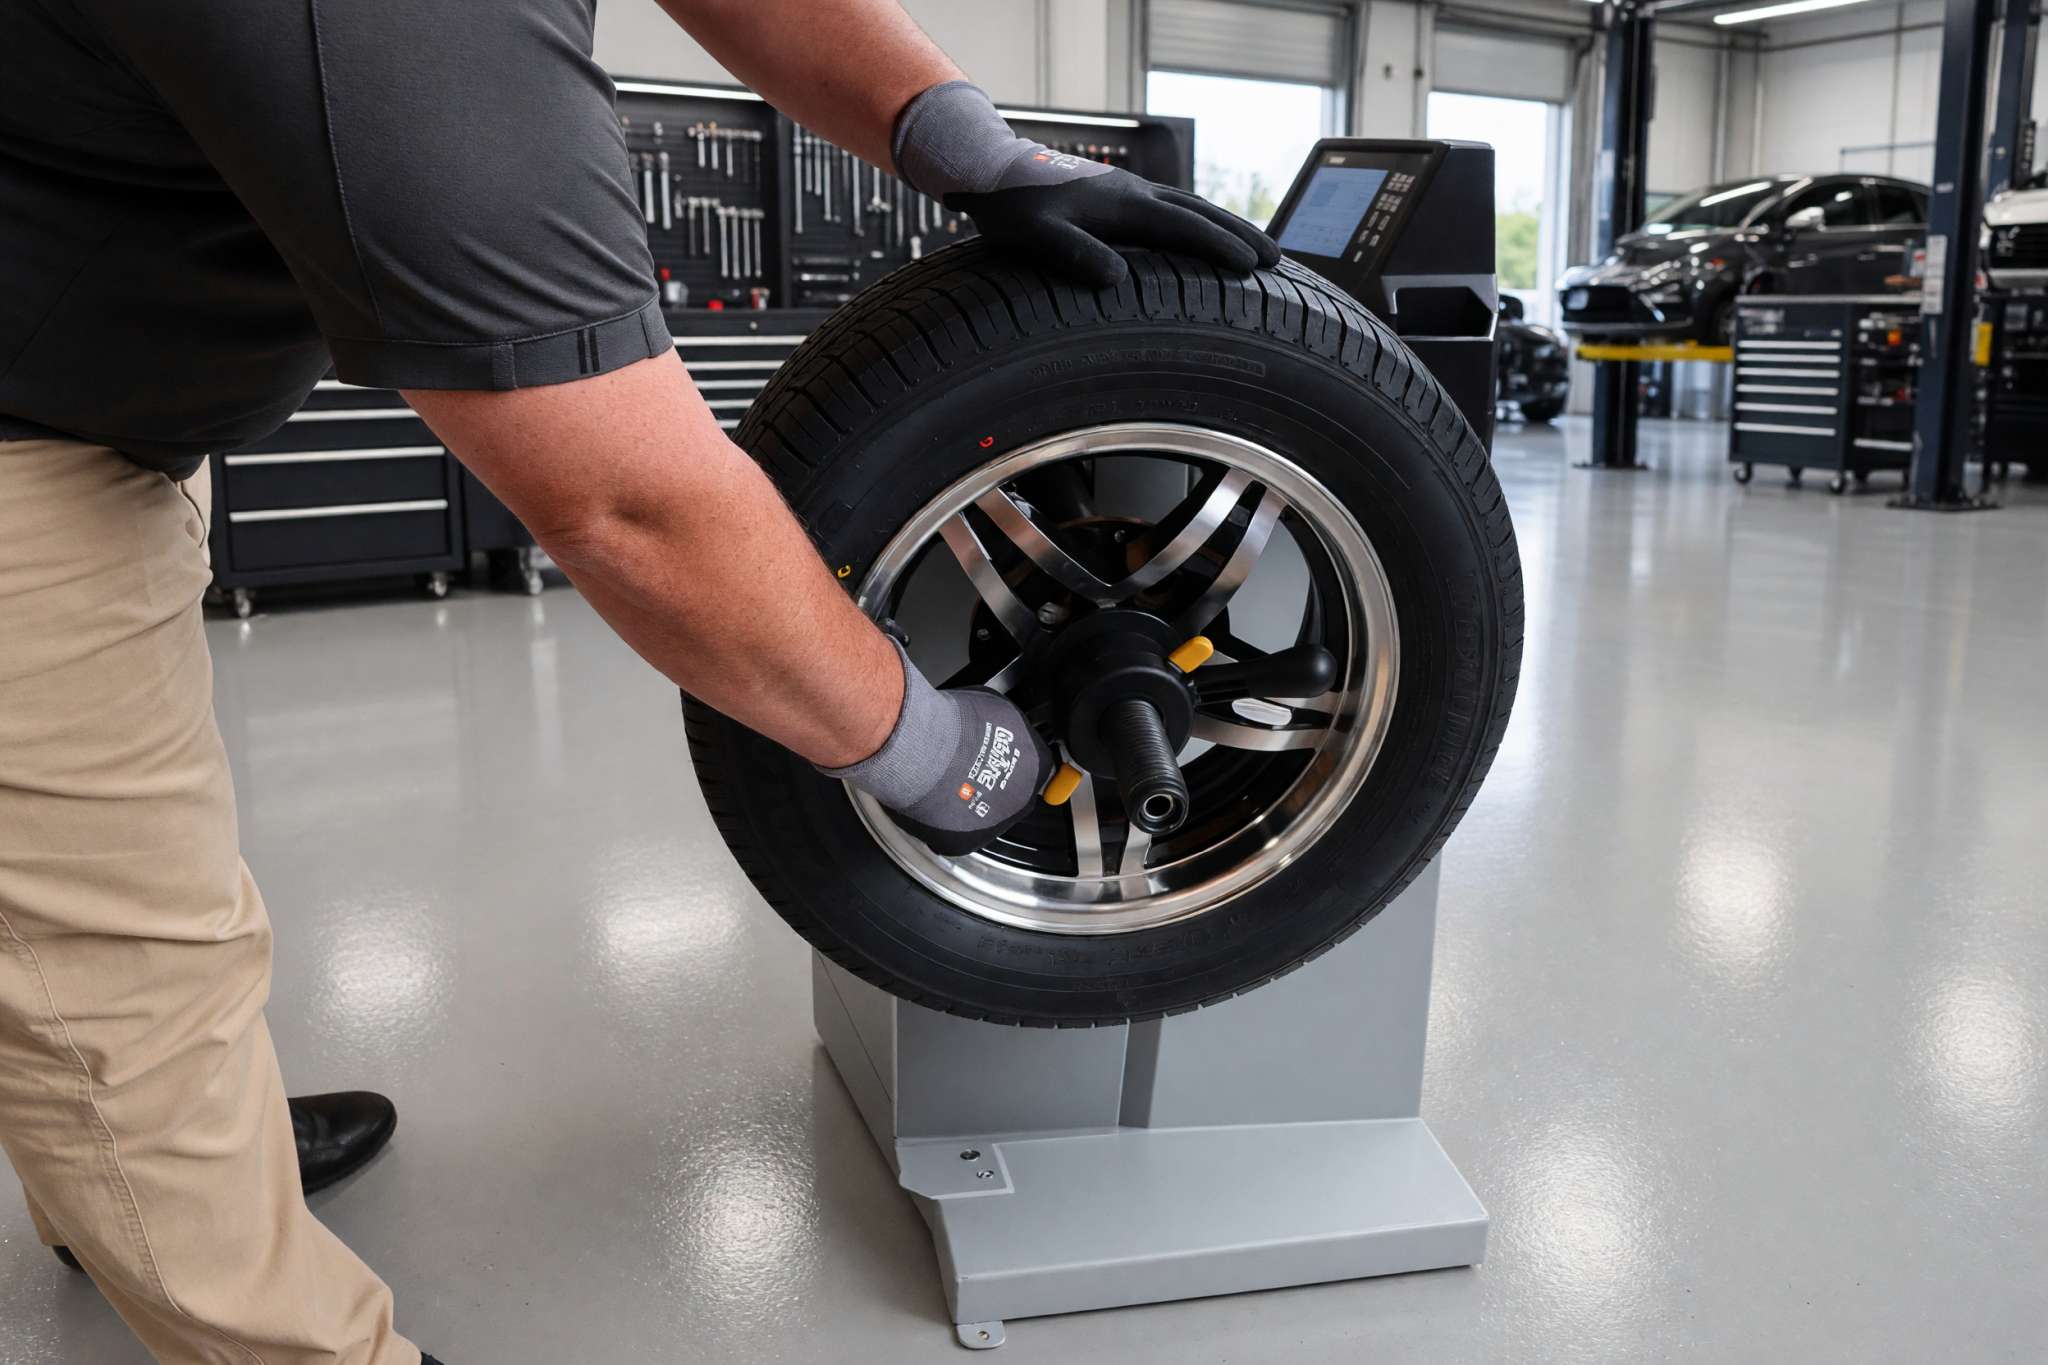
If your wheel balancer is chasing weights, it is rarely a computer failure. It is usually caused by poor wheel centering (try back-coning instead of front-coning), calibration drift, or a vibrating, unlevel workshop floor. A quick clean, a fresh calibration, and checking your cones for wear will usually sort the problem out.
There is nothing more frustrating than a wheel balancer that keeps changing its mind. You spin a tyre, the machine asks for 20 grams, you clip the weight on, spin it again, and suddenly it wants another 10 grams on the opposite side. You end up chasing that weight around the rim until the wheel looks like a patchwork quilt of lead.
Before you assume the internal computer board is fried and pull out your phone to call a service tech, take a breath. Nine times out of ten, the electronics are completely fine.
Instead, you are usually dealing with a few common, easily fixable mechanical hiccups. Usually, it comes down to sensor drift, a sloppy mount, worn-out cones, or even just structural floor vibrations messing with the machine’s head.
Thinking if replacing your wheel balancer? Check out our range of wheel balancers.
The Calibration Trap for Wheel Balancers
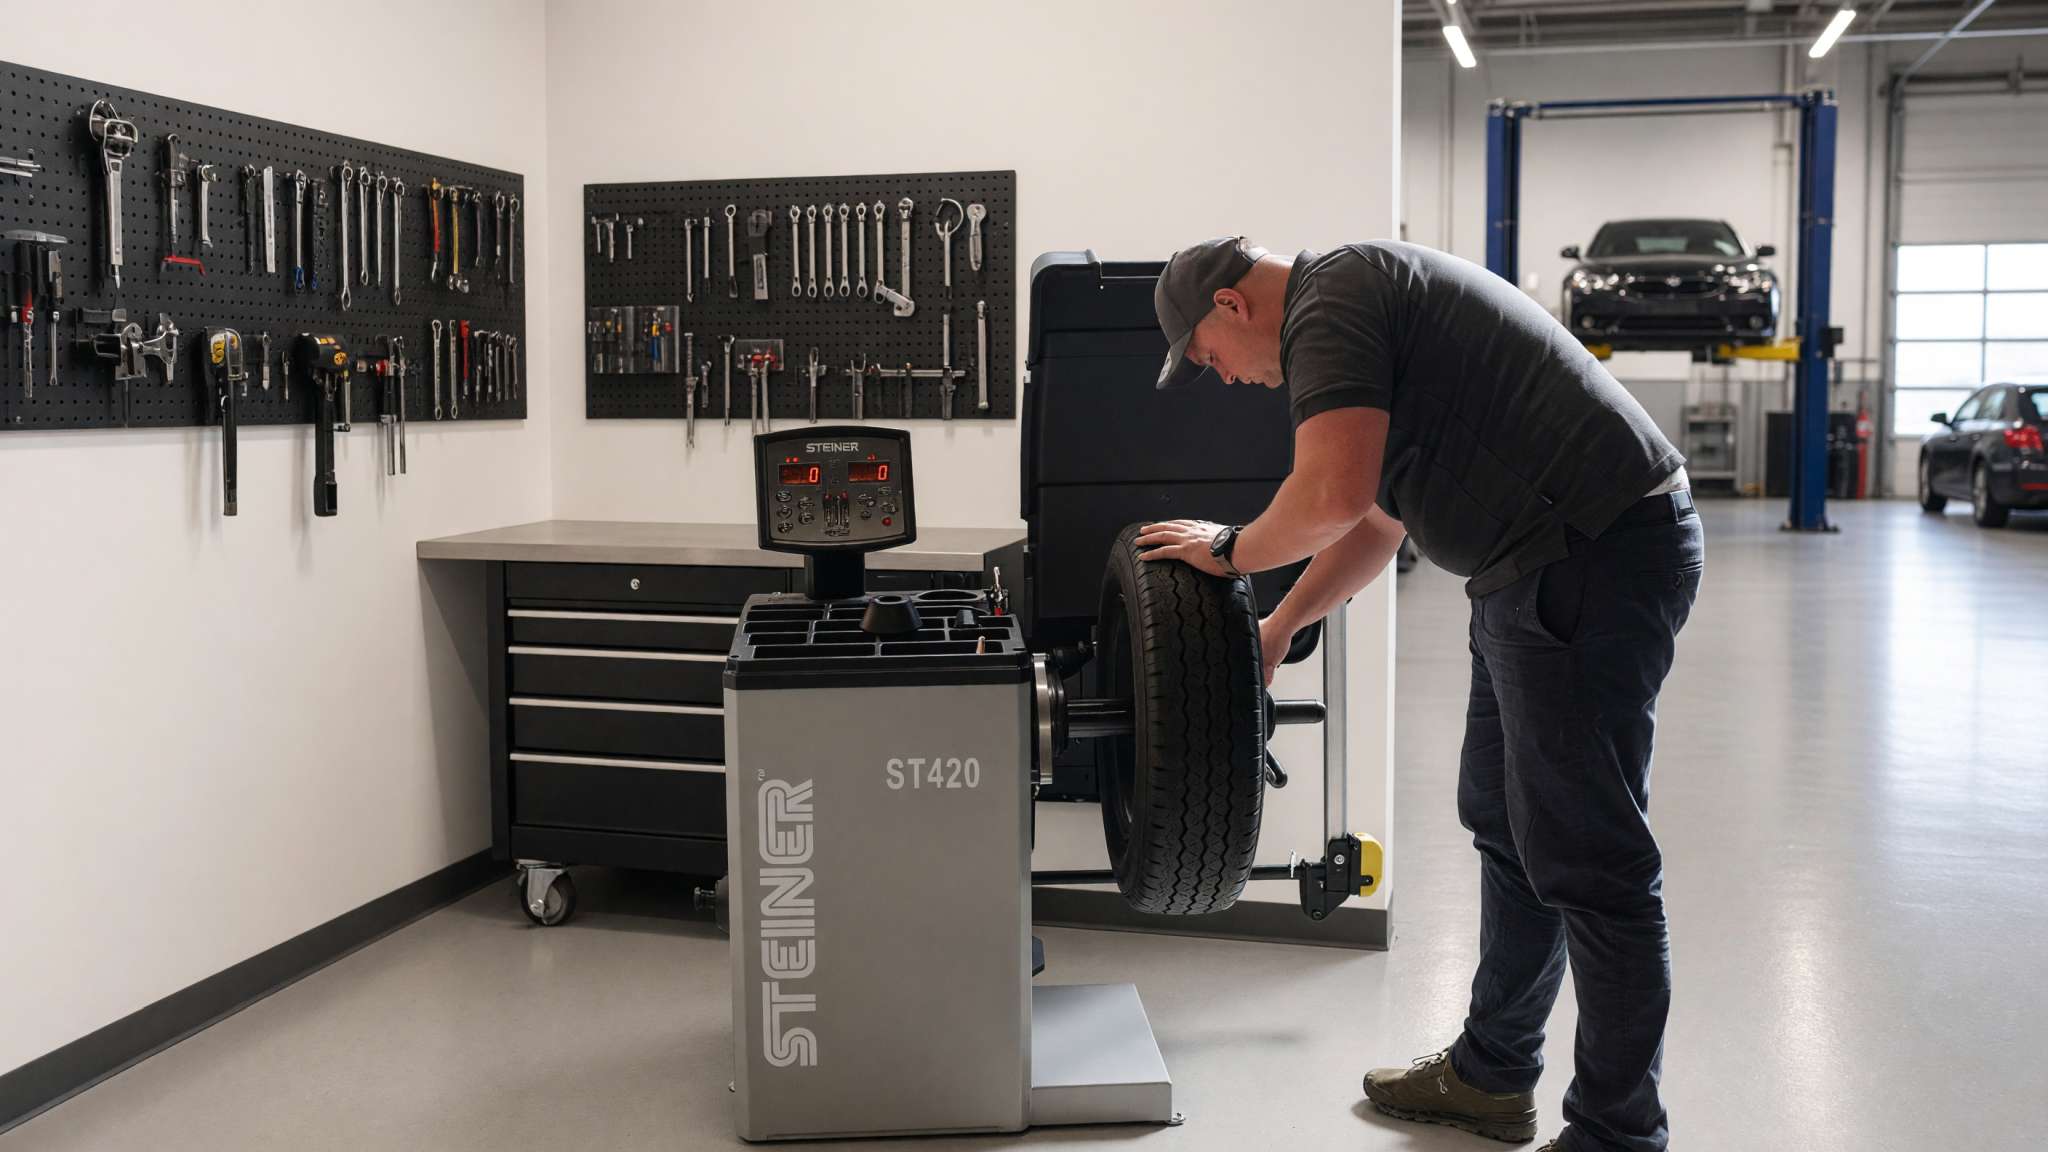
Let’s start with the most obvious culprit: calibration drift.
If your shop is slamming through wheels all day long, those internal force sensors are eventually going to wander away from their true baseline.
You can usually spot a calibration issue if you get entirely different numbers on the exact same wheel back-to-back without even unmounting it, or if you get stuck in an infinite loop trying to clear a tiny 5g or 10g imbalance that just won’t resolve.
To fix this, pull out your official solid steel calibration weight slug and run the manufacturer’s reset routine. Just make sure the wheel you use for the calibration is 100% clean and true before you start, or you will just end up calibrating the machine to a warped wheel.
Stop Front-Coning Your Alloy Wheels
Incorrect mounting is probably the most overlooked reason a balancer goes haywire. If a wheel is clamped slightly off-centre, it creates an artificial hop that can affect the balancer’s readings. This can completely throw off the balancer’s calculations.
A common habit in busy tyre bays is front-coning when mounting wheels on a balancer. The technique involves sliding the centring cone onto the shaft from the wheel’s outside face. The problem is that the outer hub bore chamfer on a lot of modern alloy wheels is mostly decorative and rarely perfectly round.
Instead, switch to back-coning. Because the inner face of the wheel is what sits flush against the car’s brake rotor on the road, mounting the cone from the rear replicates how the wheel actually runs in real life.
While you are at it, grab a wire brush and clear out any rust, road grit, or dried tyre paste from the wheel’s centre bore. Leaving that junk inside means the wheel will never sit square.
Worn Cones and Bent Spindles
Cones and shafts take a massive beating over time, and minor surface dings quickly turn into major measurement errors. Take a close look at your mounting accessories. If your cones have deep scratches, uneven wear ridges, or flat spots from being dropped on the concrete, they need to go.
The quick-release wing nuts are another failure point. If the internal threads are stripped or slipping even a hair during a high-speed spin cycle, your clamping pressure changes mid-run, and your readings will jump all over the place.
You also need to check for shaft play. If a technician accidentally dropped a heavy 4×4 tyre onto an extended spindle, the shaft itself might be bent. You can check this by mounting a dial indicator gauge against the smooth part of the shaft and spinning it by hand. If the needle jumps by more than 0.02mm, the spindle is warped and no amount of calibration will ever save it.
Is Your Workshop Floor Working Against Your Wheel Balancer?
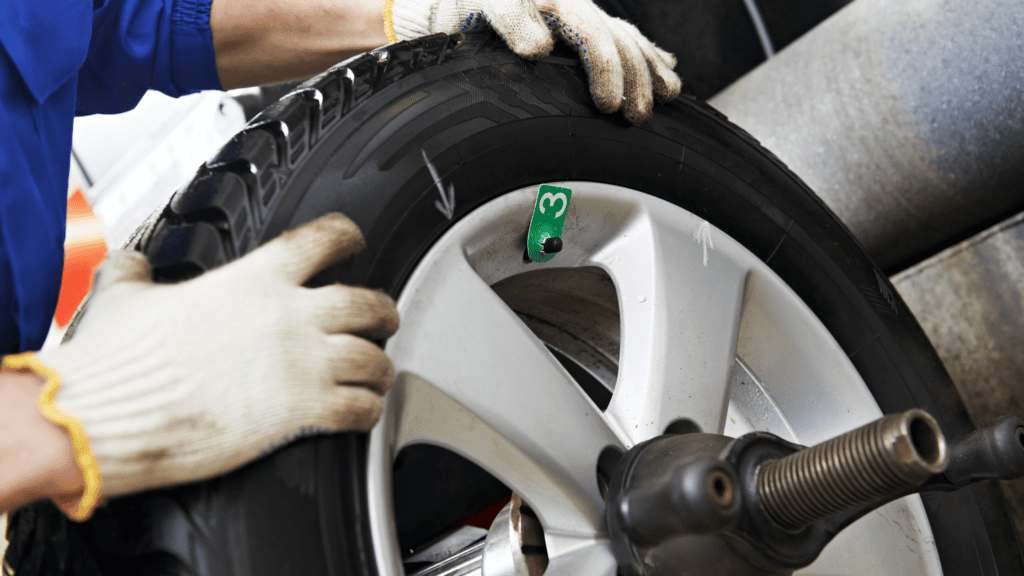
A wheel balancer is basically a highly sensitive scale that reads physical force feedback. Because of that, it cannot tell the difference between a heavy tyre imbalance and the vibrations travelling through your workshop floor.
If your balancer isn’t anchored tightly to a level, solid concrete pad, the whole cabinet will rock and twist when a heavy tyre starts accelerating. That minor structural flex completely distorts what the sensors are trying to read.
Watch out for vibration cross-talk, too. If you set up your balancer right next to a noisy piston air compressor or a tyre changer that shakes when breaking beads, those harmonic waves travel straight through the floorboards and corrupt your spin data. Level the feet, lock the nuts, and bolt the machine down securely to a solid concrete substrate away from heavy, vibrating equipment.
Quick Troubleshooting Guide
If you are trying to figure out why the machine is acting erratically, use this matrix to match the symptoms to the immediate mechanical fix:
| If the machine does this… | It usually means… | The immediate fix… |
| Weights move around the rim | The wheel isn’t sitting square on the shaft. | Clean the hub bore and switch to back-coning. |
| Weight amount grows every spin | The calibration baseline is lost or the shaft is bent. | Run a calibration check with your steel weight slug. |
| Reads fine on cars, fails on 4x4s | The cabinet is rocking under heavy loads. | Tighten your anchor bolts and check for floor flex. |
| Readings change between shifts | Technicians are using different mounting techniques. | Standardise shop workflow and clamp pressure. |
Keeping Your Wheel Balancer in Top Shape
Consistent wheel balancing comes down to treating your equipment like the precision instrument it actually is. Clean tyre soap residue off the faceplate and pressure cups at the end of the shift, inspect your cones weekly, and run a test spin with a known “master wheel” once a month just to keep tabs on accuracy.
Key Takeaways
- Ditch Front-Coning: Always mount centering cones from the back of the wheel to mirror how the wheel sits on a vehicle’s actual brake hub.
- Keep It Clean: Wire-brush wheel centre bores and wipe down the balancer spindle daily. Dirt is the enemy of a true centreline mount.
- Check for Accessory Wear: Dropped cones and stripped wing nuts cause clamping pressure to change mid-spin. Replace them when they get rough.
- Isolate Floor Vibration: Secure your balancer to a level, solid concrete pad away from vibrating machinery like compressors or tyre changers to keep the force sensors happy.
- Calibrate Bi-Weekly: Don’t wait for the machine to fail. Set a regular schedule to run the calibration cycle with a verified clean, true wheel.
Precision for Wheel Balancers Isn’t Optional
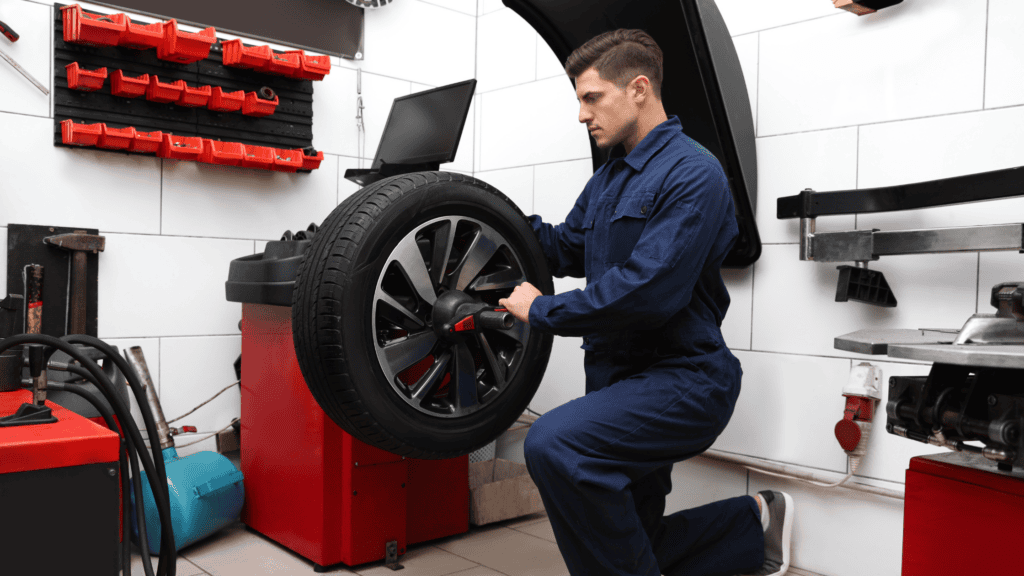
Chasing weights around a rim is easily one of the most frustrating parts of a day in the tyre bay. We’ve all been there, watching the screen dance around and wondering if it’s the wheel acting up or the machine just having a moment.
The good news is that most of the time, a bit of routine maintenance is all it takes to get things back on track. Whether it’s a quick clean of the spindle, swapping over to back-coning, or just giving the balancer a stable place to sit, these small tweaks usually do the trick. Precision equipment is a bit like a sports car; it needs a bit of care to perform at its best.
Having trouble getting consistent wheel balancer results?
Hoist & Garage can help with a new machine or calibration, servicing, and repairs.
Contact us today and we’ll get your wheel service bay running smoothly, so you can spend less time chasing balancing issues and more time getting the job done.